Help Center
Track an Order
Use your order number and email to find your parcel.
FAQ's
Quick answers for shopping, shipping and other queries.
Customer Care
After-sale support to ensure you're satisfied, or give feedback.
No products in the cart.
Using Hang-Kits to hang your wall art perfectly

Hang-Kits use gravity and interior design best practices to hang your wall art straight, and at designer recommended viewing heights, all in just a few minutes. No need for DIY skills. It’s super easy.
How Hang Kits Work
Simply stick the hang kit to your wall in a few places so that it doesn’t shift while aligning your wall art or picture frames. When you’re done hanging your wall art, peel it off the wall.

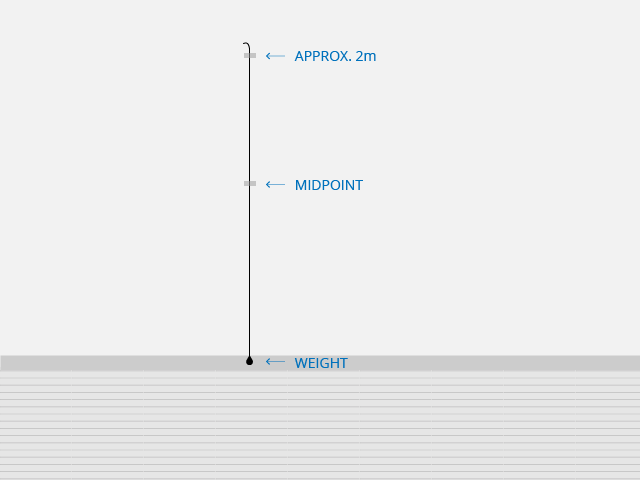
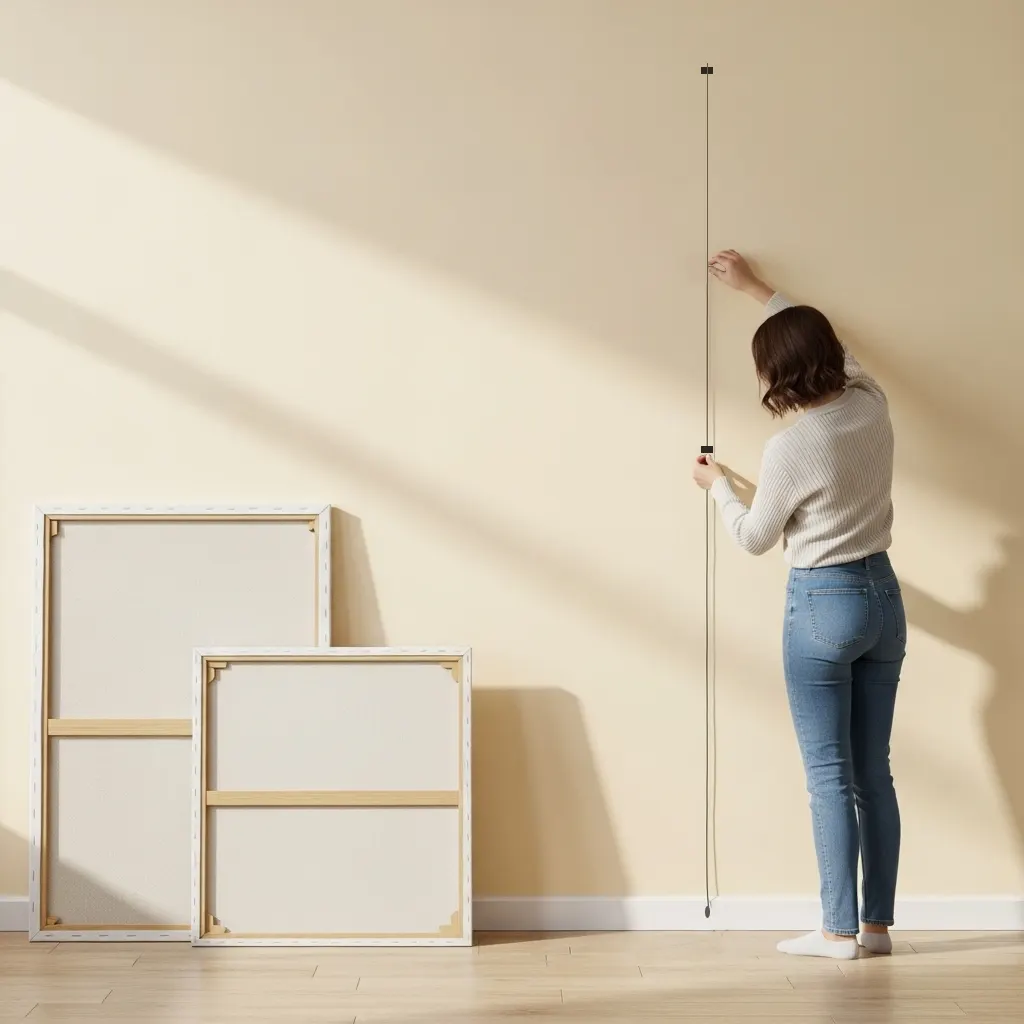
- Stick the free end of the cord to the wall using some tape. Make sure the weight on the other end hangs off the floor and gravity has pulled the cord straight.
- Stick the cord down in a few more places to make sure it doesn’t shift while you’re aligning and hanging your wall art. Gravity should still pull it straight down.
👉 That’s it! The midpoint marker indicates the height at which to hang your artwork, and the cord itself is the guide (hangs at 90 degrees) to align your picture frame straight.
How to hang MagicStick wall art
After aligning your MagicStick wall art at the right height, use damage-free adhesive strips to mount the wall art to the wall. Done.
-

- Stick hang kit to wall
-

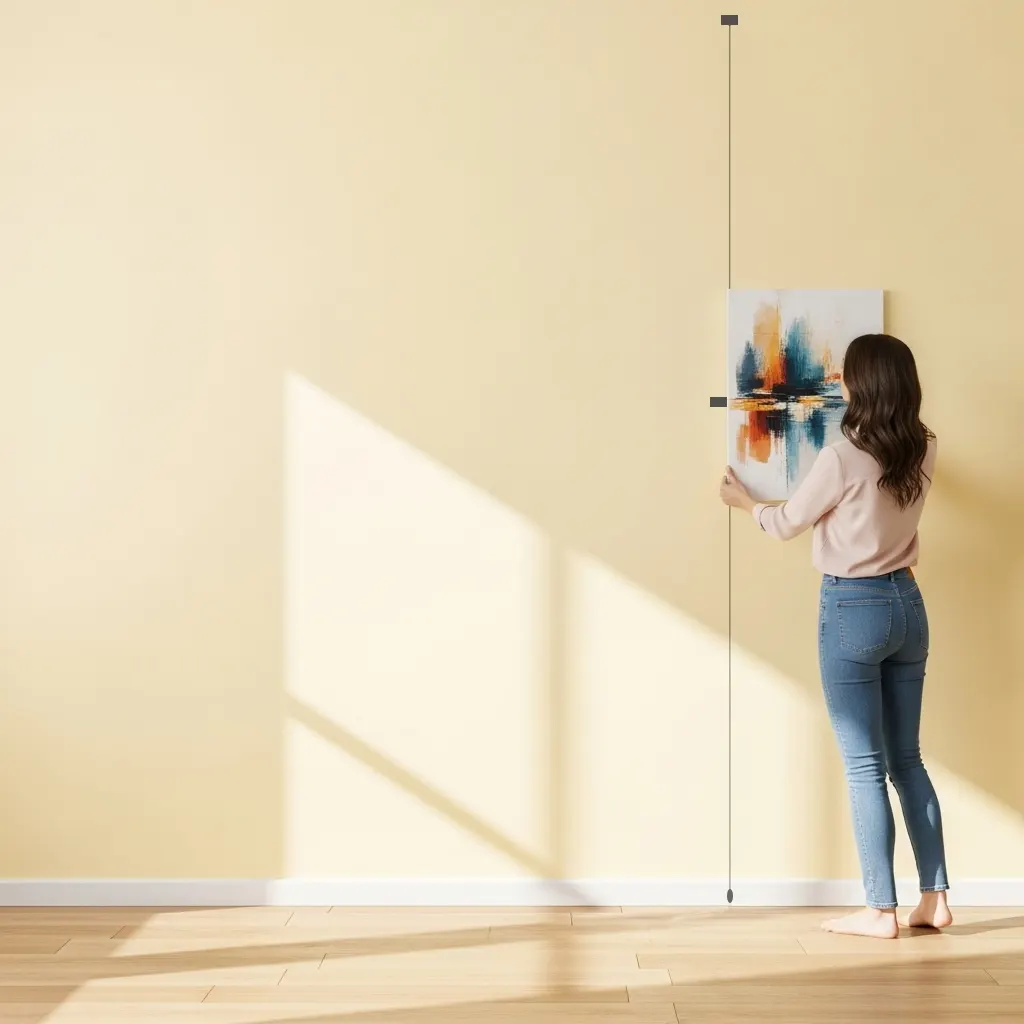
- Align wall art
👉 Before hanging, attach any adhesive strips to the back of your MagicStick wall art.
- Align the vertical middle of your artwork to the height marker on the hang kit. That’s the right height. It doesn’t have to be exactly the middle, but you can measure if you prefer.
- Next, straighten the artwork by aligning its edge to the hang kit’s cord. Gravity pulls the cord perpendicular to the floor so aligning the artwork to it straightens it without tools. To be as accurate as possible, make sure there’s no gaps or overlaps between the wall art and the cord.
- Stick the MagicStick wall art to the wall. Simply push the artwork onto the wall so the adhesive strips can fix it in place. Follow any additional instructions for your hanging adhesive,
How to hang Posters & traditional picture frames using Hang Kits
The process is exactly the same as hanging MagicStick wall art, except that you’ll use the hang kit as a measuring tool to mark off where to place your hanging hardware and picture frame.
- Align your picture frame to the hang kit, at the right height and straighten.
- Use a pencil to draw a line across the top of the frame (leveling line) from one corner of the frame to the other.
- Knock your nail in the middle of the pencil line and hang your picture frame. You can adjust this if you need more nails, e.g. for very large art or heavy mirrors.
Pro Tips
- You can move your picture to a new location after you’ve hung it. Check out this guide on moving and storing MagicStick wall art.
- You can use your Hang Kit to create gallery layouts on the wall. First hang one picture, then move the Hang Kit alongside to align the next picture. The vertical string can also be marked above or below the midpoint to align more pictures at an offset.
Enjoy your new wall art!
Thanks for using MagicStick and our unique hang-kits. We’d love some feedback on your experience to improve our Hang Kits and these instructions for others. Fill out the form below. Thanks 🙂
